
It has been a year since I posted a new item! Time to get back to it! My last post was about a project for my IC-705 using an M5Stack microcontroller. I became interested in learning about other ham radio related projects using microcontrollers.
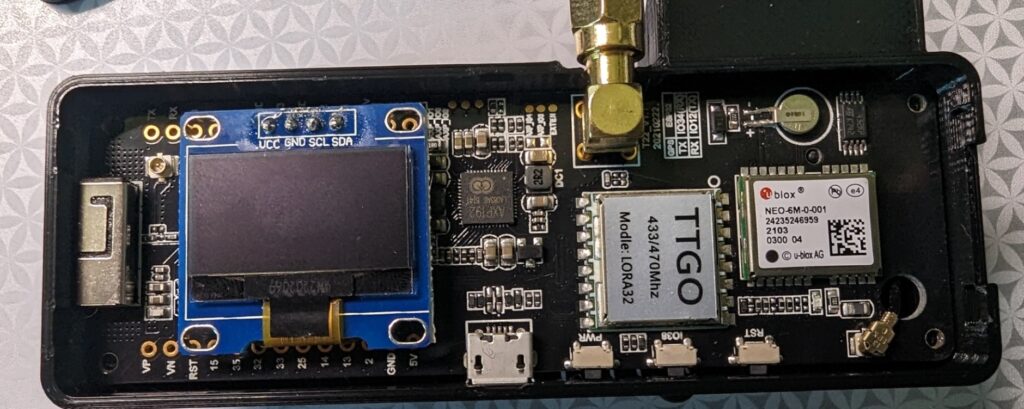
Searching online, I found two related projects to build an APRS iGate and a tracker. Both of these projects use inexpensive LoRa32 microcontroller boards. I chose TTGO T-Beam v1.1 boards that operate on 433 MHz. Make sure you buy the 433 MHz version of the board for the APRS projects. The board includes a small OLED screen, and has onboard WiFi, GPS and SMA connector for the antenna. You will probably have to solder the OLED screen to the board, but there are only four pins to solder.
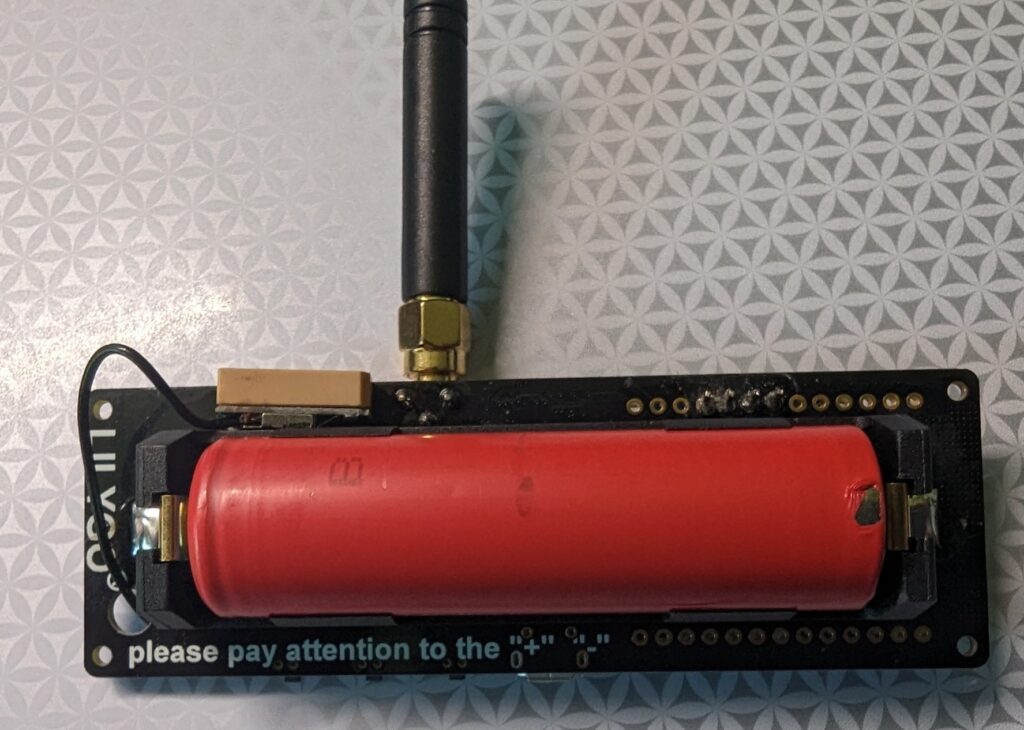
On the back of the board, there is a battery holder for an 18650 3.7 V lithium ion battery to power the board. The board can also be powered through the microUSB port, which also recharges the battery. There are other similar LoRa32 boards that you can use for these projects, and they are readily available on Amazon, eBay, and other online retailers.
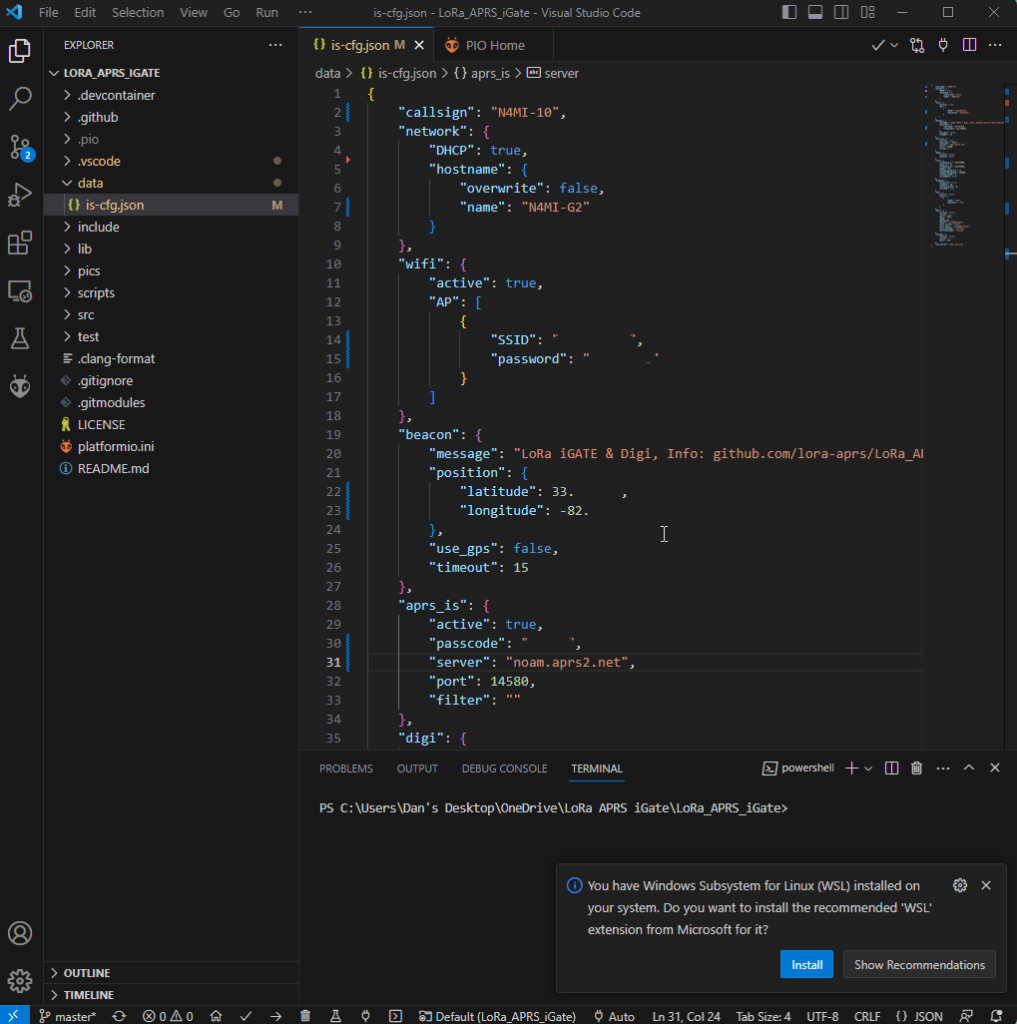
Programming the board is fairly easy. The iGate and tracker project pages on GitHub include links to quick start guides. The quick start guides are in German and French, but you can right-click in Chrome and choose “Translate to English”. Even better, there is an excellent video by Tech Minds on YouTube that will take you step-by-step through the process of configuring and programming the iGate and tracker modules using Visual Studio Code with the PlatformIO plugin. This process will load the firmware onto the module, as well as a json configuration file that includes your callsign, wifi info (for the iGate), etc. I highly recommend viewing the Tech Minds video before you start these projects!
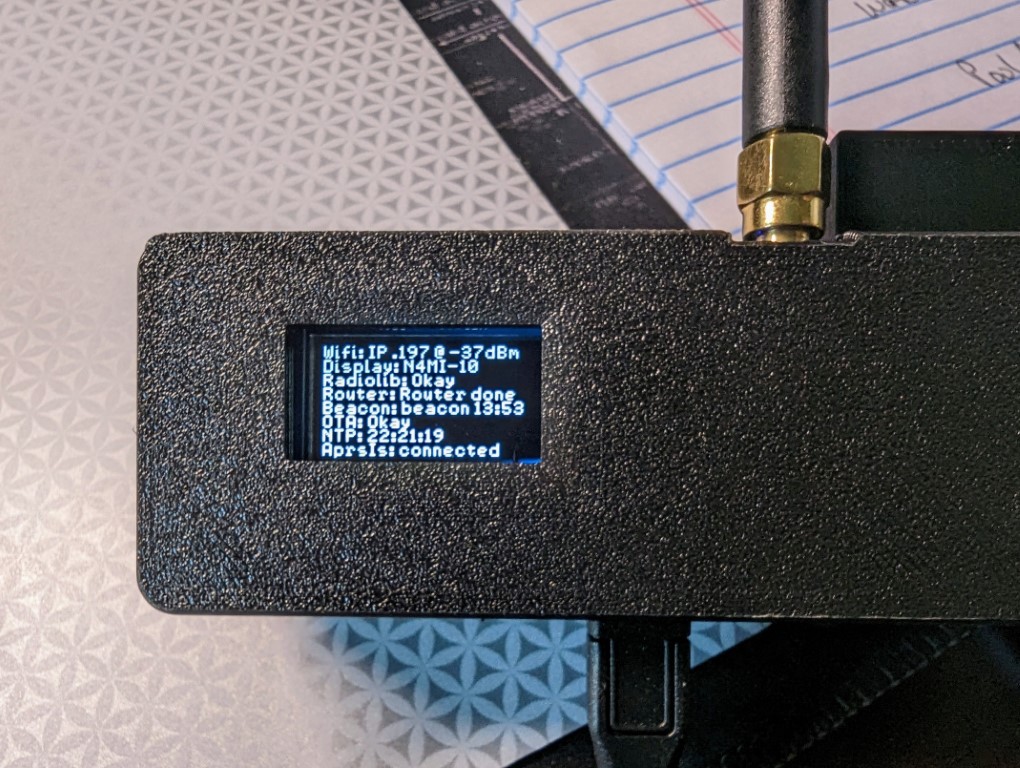
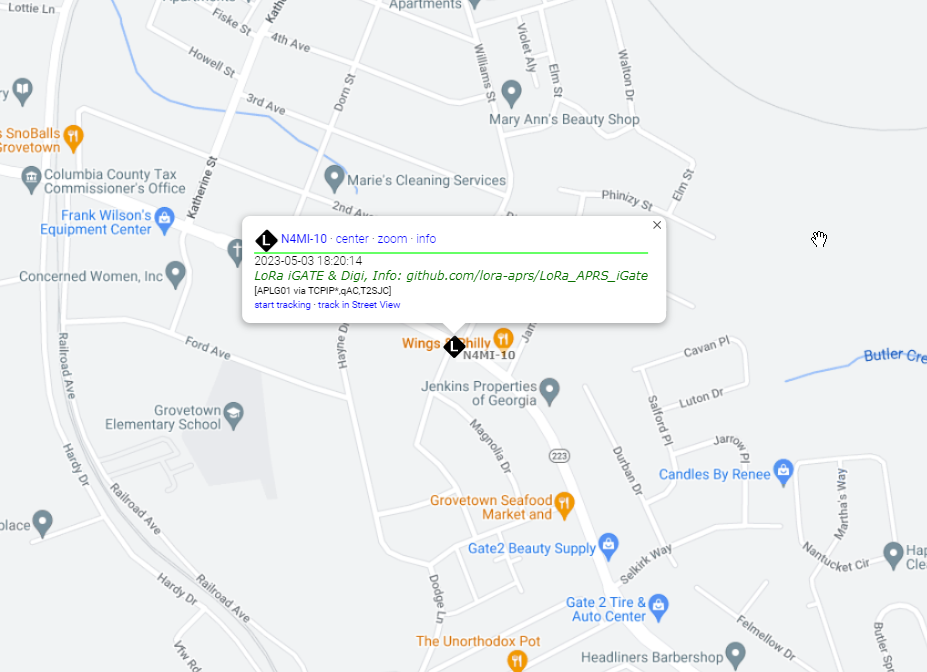
After programming the iGate and tracker, I was ready to test! I missed a step in my initial configuration of the iGate, so it did not connect to my home wifi on the first attempt. Once that was fixed, it connected to the internate and I was able to see the LoRa iGate symbol for my ssid N4MI-10 appear on the aprs.fi live APRS map. The iGate is operating on 433.775 MHz.
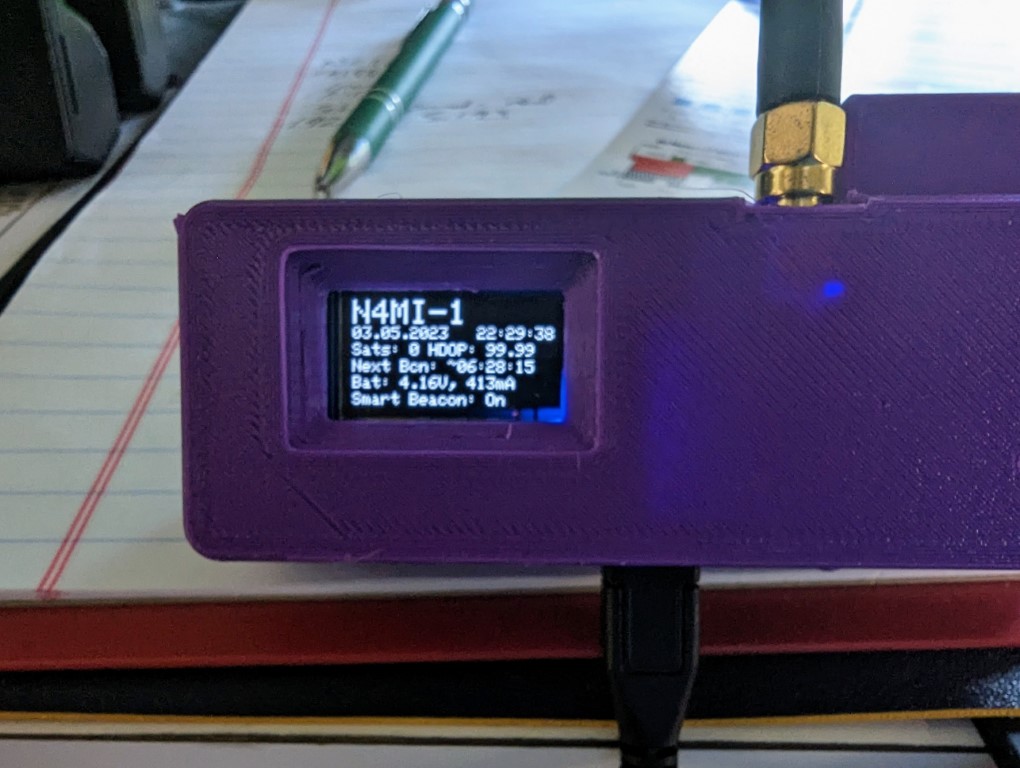
Once the iGate was operational, it was time to test the tracker. I chose N4MI-1 as the ssid for testing the tracker. I have some other APRS capable radios, so I will have to come up with a plan for assigning a ssid for each of them. The tracker powered up and initialized. Once it acquired enough satellites for a fix, I saw it transmit the first beacon, which was immediately picked up by the iGate. Awesome!
You can configure the tracker for smart beaconing in the json configuration file. You can also manually transmit a beacon using the middle button on the LoRa module.
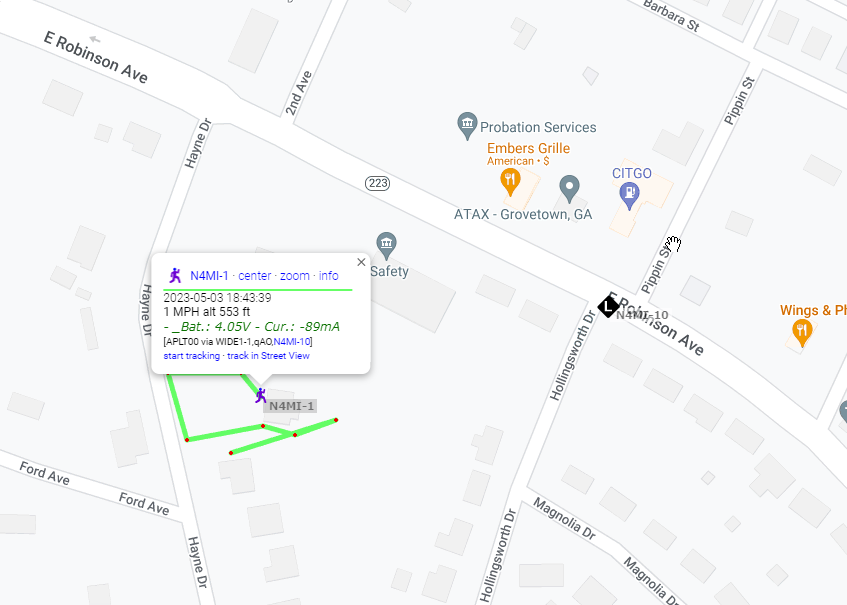
I took the tracker out for a short walk, and transmitted a beacon from several locations, all of which were received by the iGate and displayed on aprs.fi.
The transmitter in the LoRa board is very low power, about 200 mW, so the range with the small SMA antenna is limited. The range can be extended by using a better antenna at a higher elevation. Additionally, a small RF amplifier could be used to increase the power.
This was a very fun and relatively easy project. I am planning to attach a 70cm antenna at a higher elevation to the iGate in case other hams in this area would like to build and use LoRa 433 MHz APRS trackers.