I decided to build a small 50W VHF/UHF station to use for portable operations, such as supporting events or setting up in a temporary location, with a choice of using AC power or a battery. I don’t need anything fancy like DMR or D-Star, but I might want to to use it for APRS or WinLink.
After a bit of research and pricing options, I went with something that turned out to be a very easy build. I chose a Yaesu FTM-6000R as the transceiver. It has basic features, but has gotten some good reviews. It is also known to be a good transceiver for data, and is 9600 bps capable.
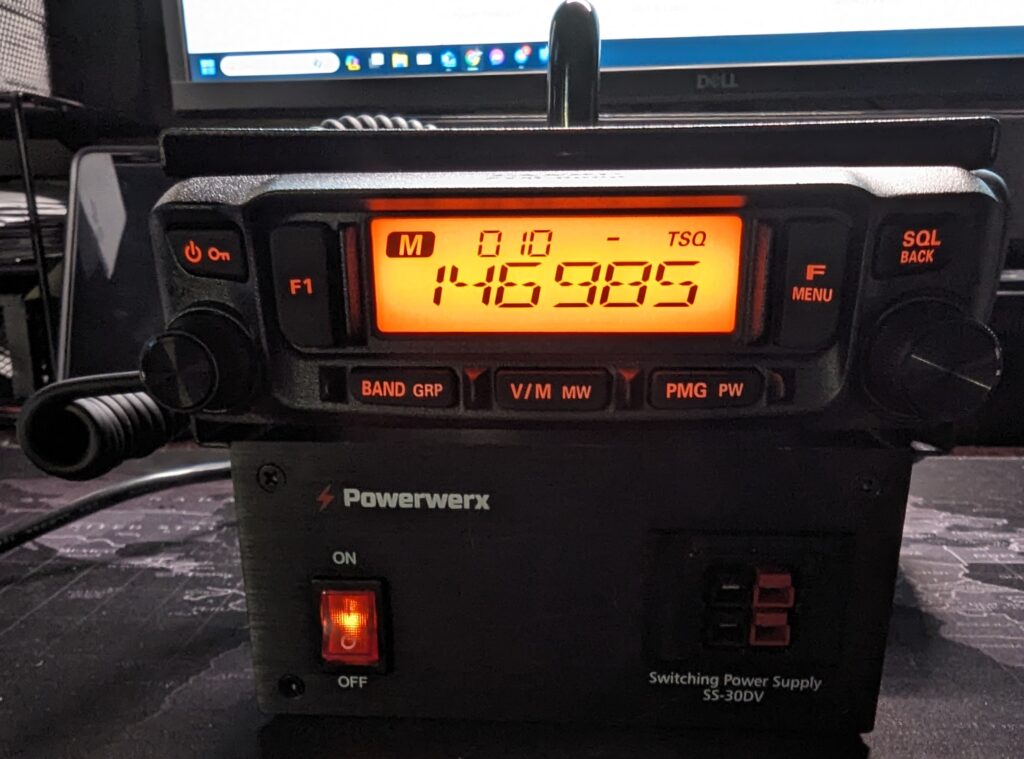
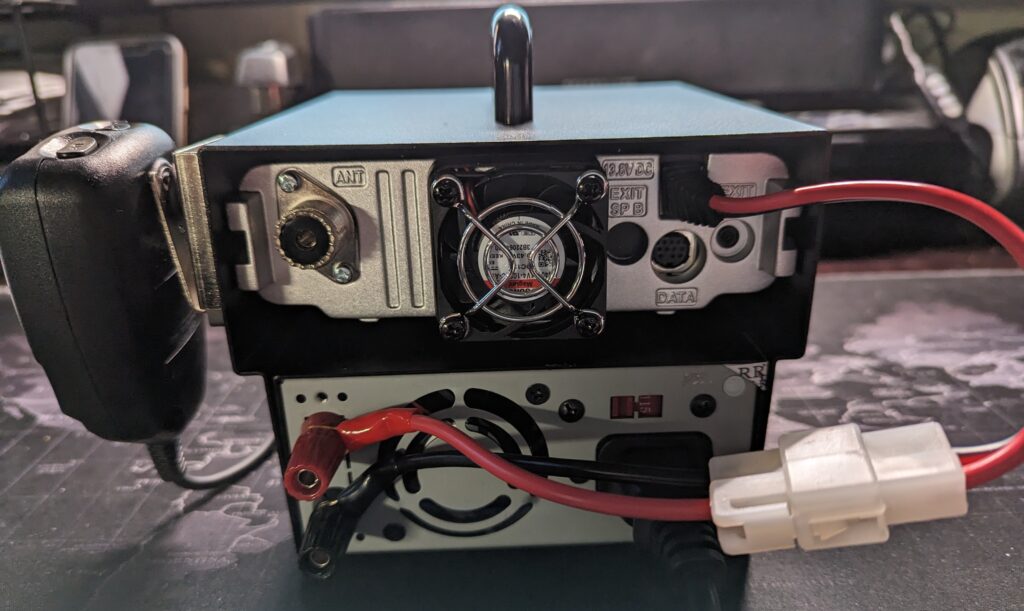
I also chose a 30 amp switching power supply and a mobile base station enclosure from PowerWerx, to make it a single unit that’s easy to carry around. The enclosure includes a short DC cable to connect the radio to the power supply. If I want to use a battery instead of the power supply, I just disconnect the T-connector from the power supply, and connect it to the battery. It was very easy to assemble the whole system.
I tested with the power supply and with a battery, and it works great. The whole unit is very compact and stable.
My next step will be to configure it for WinLink and APRS. I have a Mobilinkd TNC-4, and I ordered a DigiRig. The FTM-6000R has a 10 pin MiniDin connector, and DigiRig sells 1200 bps and 9600 bps cables for the radio. DigiRig also sells an adapter cable to use DigiRig cables with a Mobilinkd, and vice versa.
I’ll make another post after testing the setup with WinLink and APRS.
It has been a year since I posted a new item! Time to get back to it! My last post was about a project for my IC-705 using an M5Stack microcontroller. I became interested in learning about other ham radio related projects using microcontrollers.
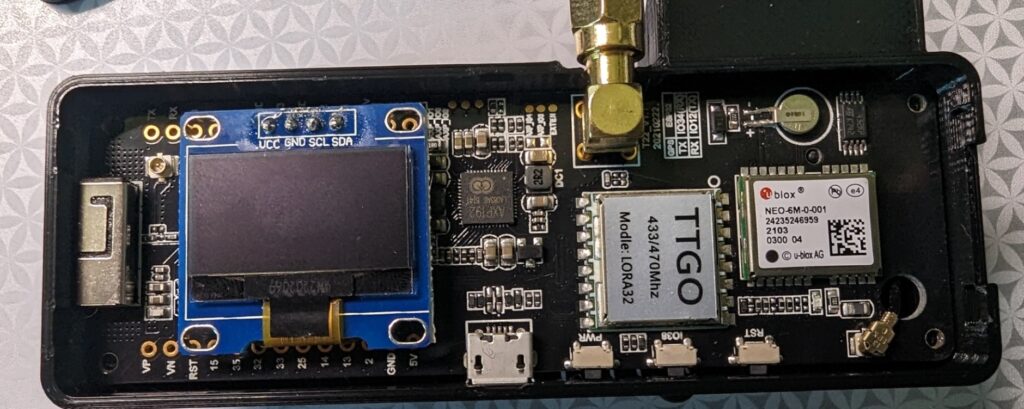
Searching online, I found two related projects to build an APRS iGate and a tracker. Both of these projects use inexpensive LoRa32 microcontroller boards. I chose TTGO T-Beam v1.1 boards that operate on 433 MHz. Make sure you buy the 433 MHz version of the board for the APRS projects. The board includes a small OLED screen, and has onboard WiFi, GPS and SMA connector for the antenna. You will probably have to solder the OLED screen to the board, but there are only four pins to solder.
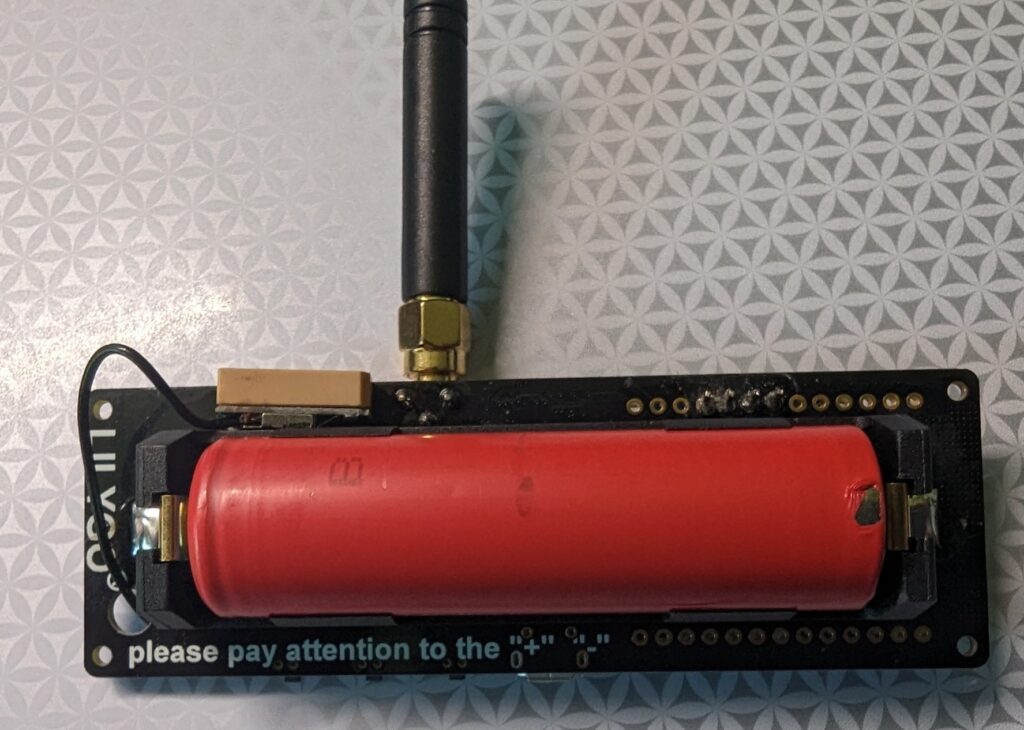
On the back of the board, there is a battery holder for an 18650 3.7 V lithium ion battery to power the board. The board can also be powered through the microUSB port, which also recharges the battery. There are other similar LoRa32 boards that you can use for these projects, and they are readily available on Amazon, eBay, and other online retailers.
Front and back of TTGO T-Beam v1.1 ESP32 433MHz LoRa32 board
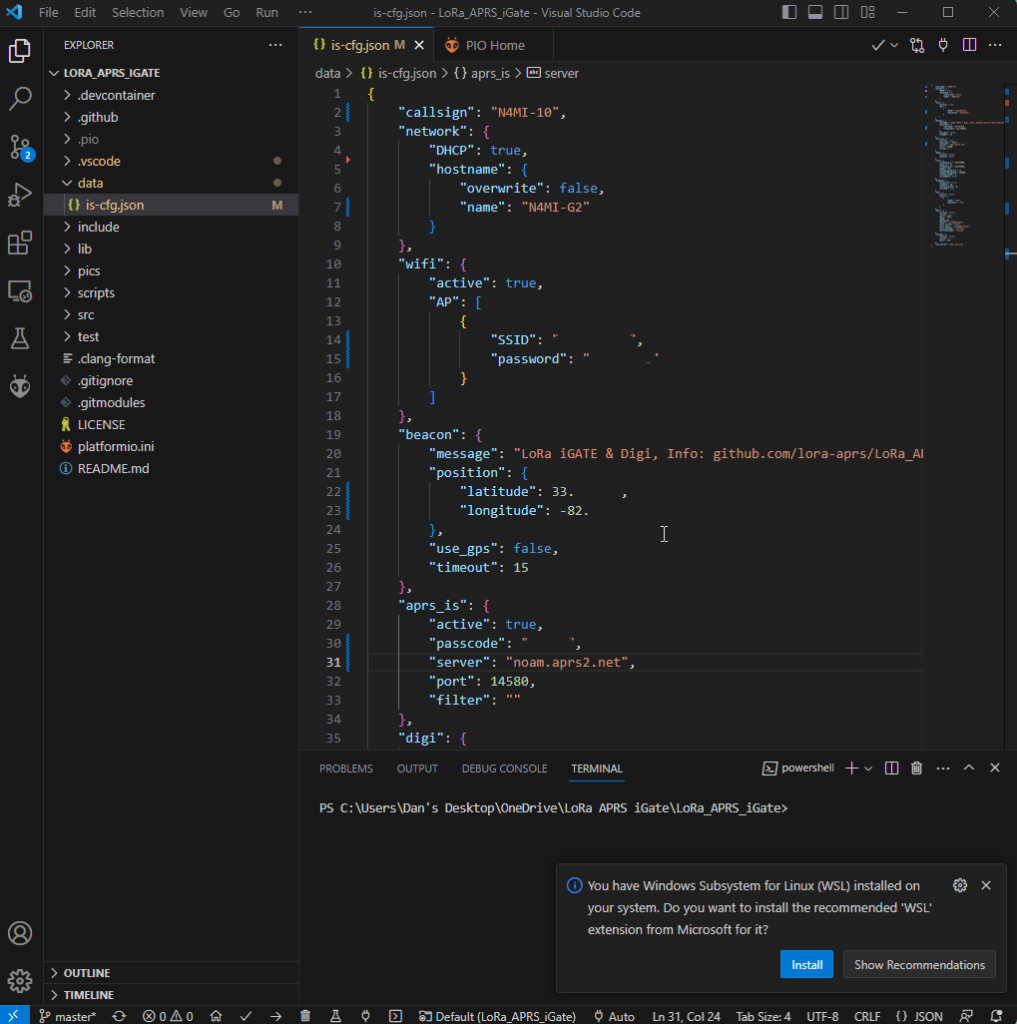
Programming the board is fairly easy. The iGate and tracker project pages on GitHub include links to quick start guides. The quick start guides are in German and French, but you can right-click in Chrome and choose “Translate to English”. Even better, there is an excellent video by Tech Minds on YouTube that will take you step-by-step through the process of configuring and programming the iGate and tracker modules using Visual Studio Code with the PlatformIO plugin. This process will load the firmware onto the module, as well as a json configuration file that includes your callsign, wifi info (for the iGate), etc. I highly recommend viewing the Tech Minds video before you start these projects!
Lora APRS iGate json configuration file in Visual Studio Code
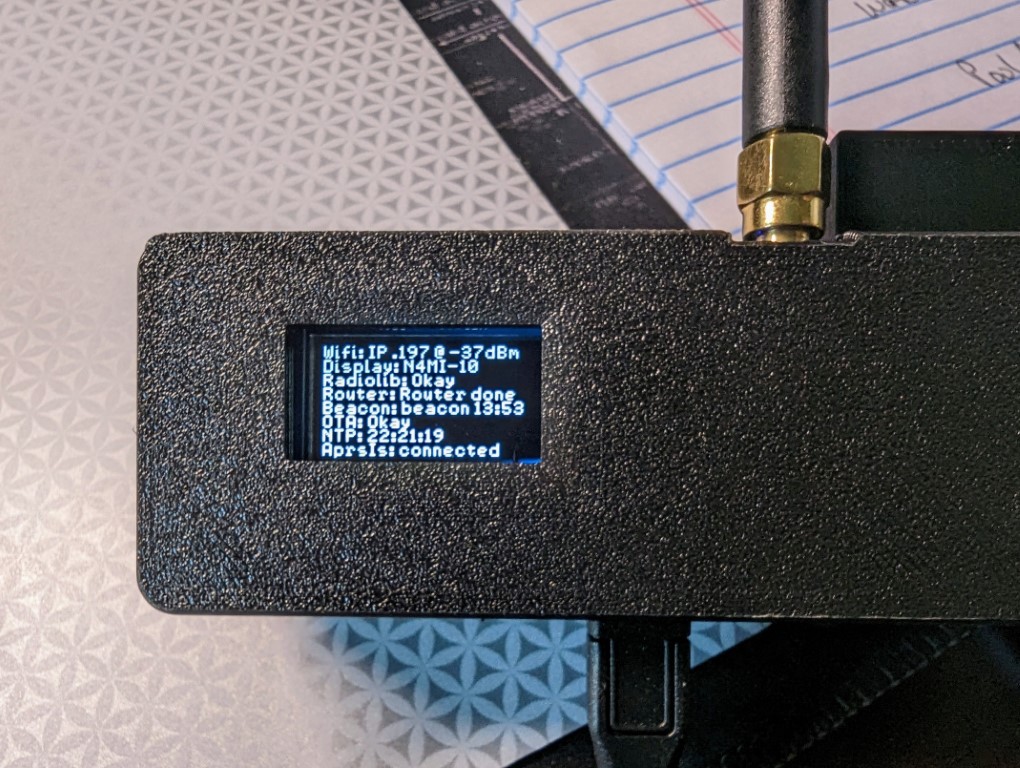
After programming the iGate and tracker, I was ready to test! I missed a step in my initial configuration of the iGate, so it did not connect to my home wifi on the first attempt. Once that was fixed, it connected to the internate and I was able to see the LoRa iGate symbol for my ssid N4MI-10 appear on the aprs.fi live APRS map. The iGate is operating on 433.775 MHz.
OLED screen showing LoRa APRS iGate configurationN4MI-10 LoRa APRS iGate, operating on 433.775 MHz, displayed on aprs.fi
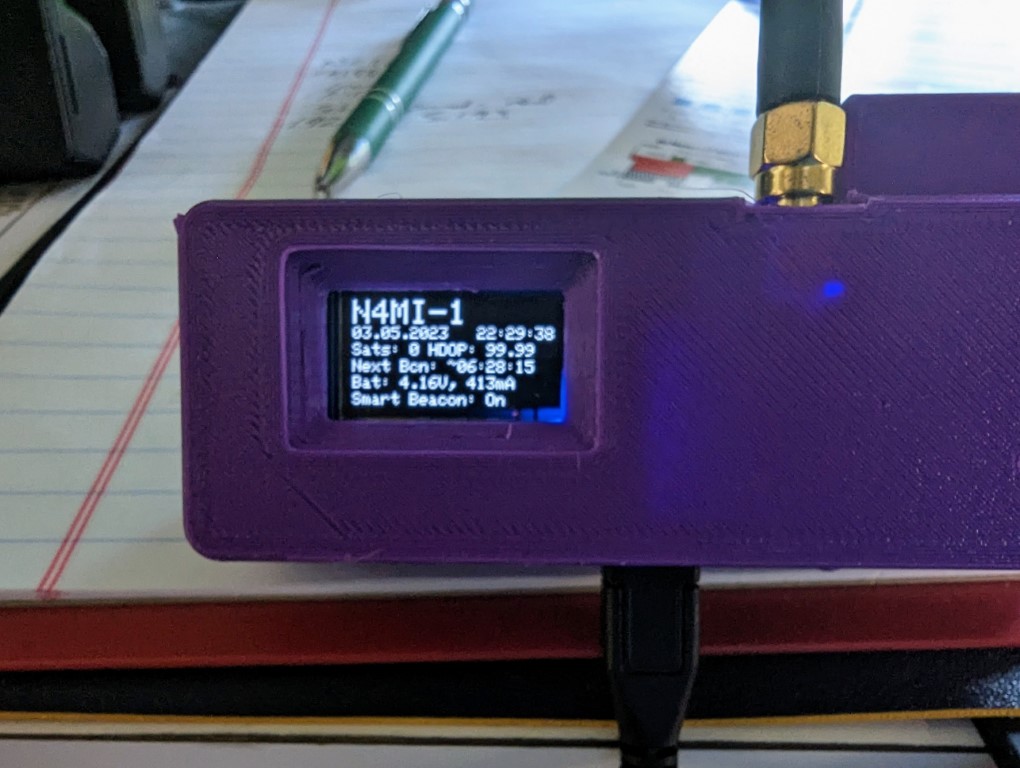
Once the iGate was operational, it was time to test the tracker. I chose N4MI-1 as the ssid for testing the tracker. I have some other APRS capable radios, so I will have to come up with a plan for assigning a ssid for each of them. The tracker powered up and initialized. Once it acquired enough satellites for a fix, I saw it transmit the first beacon, which was immediately picked up by the iGate. Awesome!
You can configure the tracker for smart beaconing in the json configuration file. You can also manually transmit a beacon using the middle button on the LoRa module.
OLED screen on LoRa 433 MHz APRS tracker
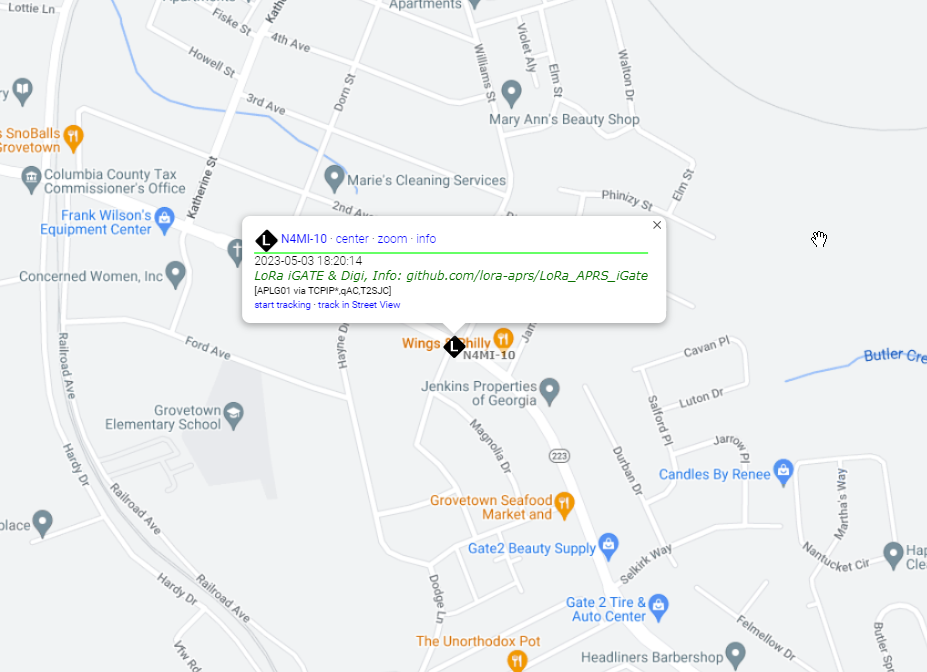
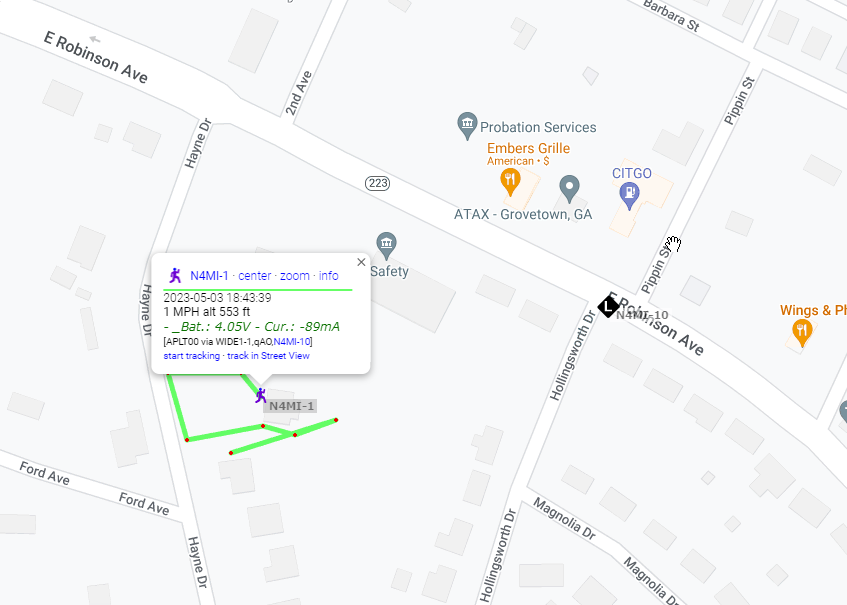
I took the tracker out for a short walk, and transmitted a beacon from several locations, all of which were received by the iGate and displayed on aprs.fi.
Positions from N4MI-1 LoRa 433 MHz APRS tracker displayed on aprs.fi
The transmitter in the LoRa board is very low power, about 200 mW, so the range with the small SMA antenna is limited. The range can be extended by using a better antenna at a higher elevation. Additionally, a small RF amplifier could be used to increase the power.
This was a very fun and relatively easy project. I am planning to attach a 70cm antenna at a higher elevation to the iGate in case other hams in this area would like to build and use LoRa 433 MHz APRS trackers.
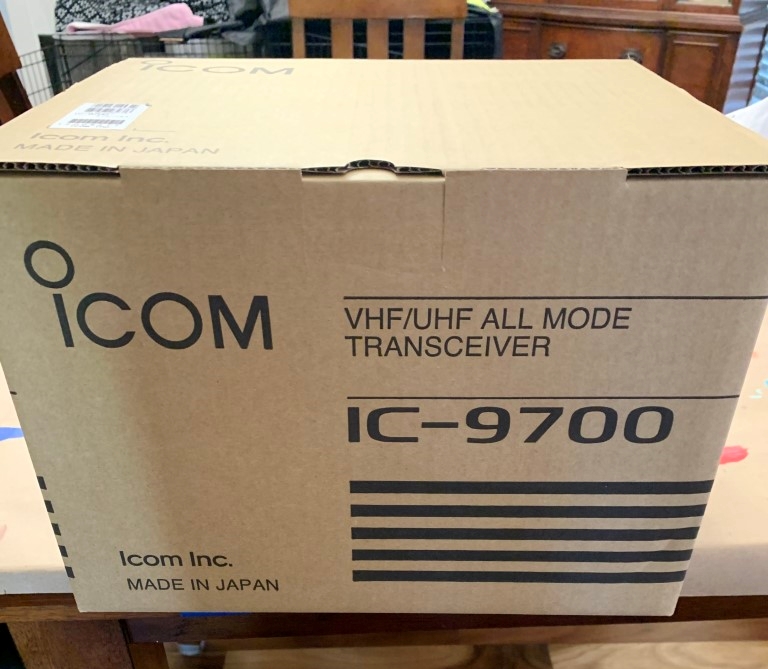
After a long wait, I finally added an Icom IC-9700 to improve the VHF and UHF capability in my shack. I decided to place an order in late December, but all of the ham radio dealers were out of stock at the time. I placed the order, and the dealer estimated delivery in February. That later slipped to March, and then to April. This morning, April 3rd, it finally arrived!
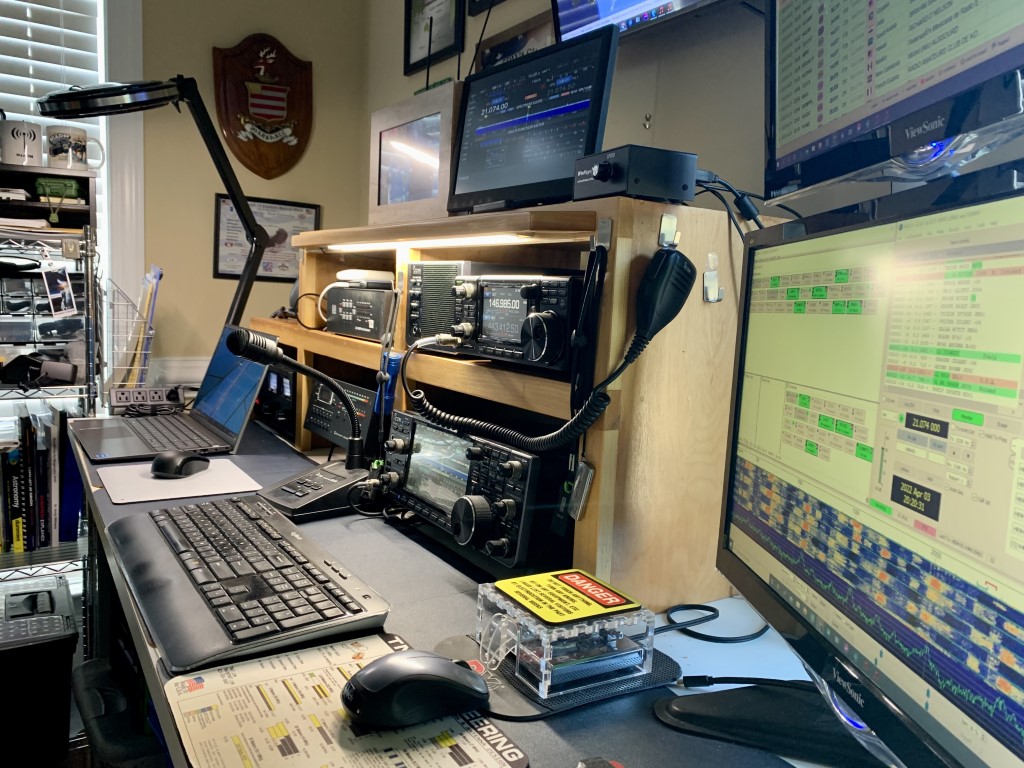
Ready for unboxing!It took about a half hour to get the radio connected and in place.
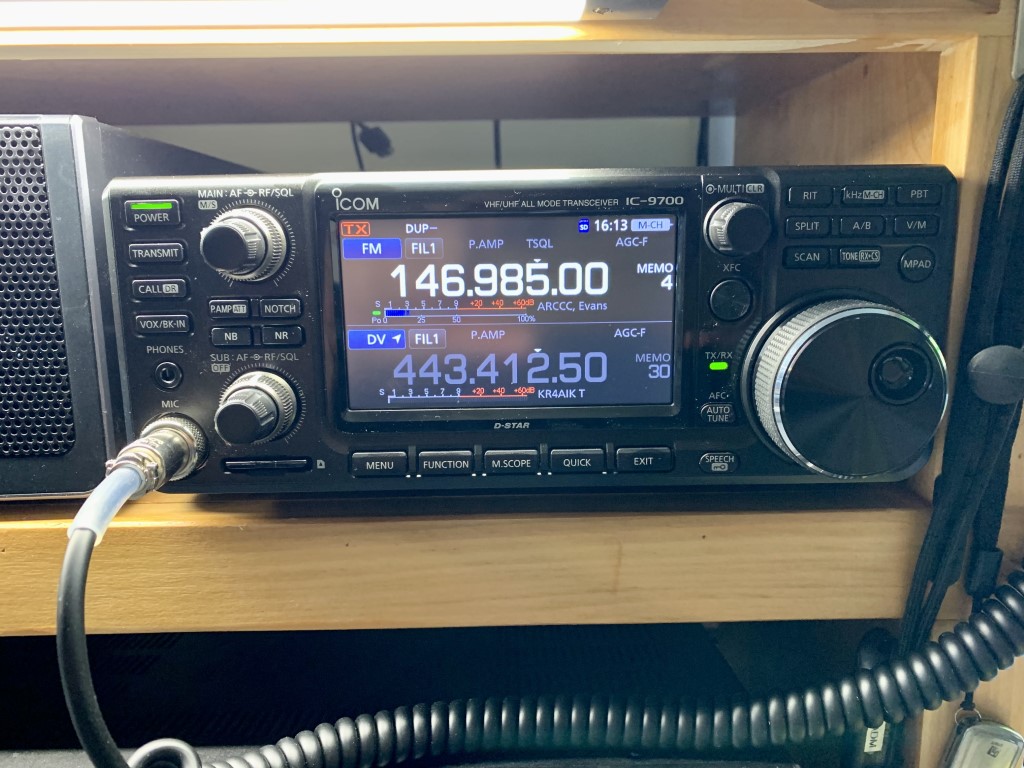
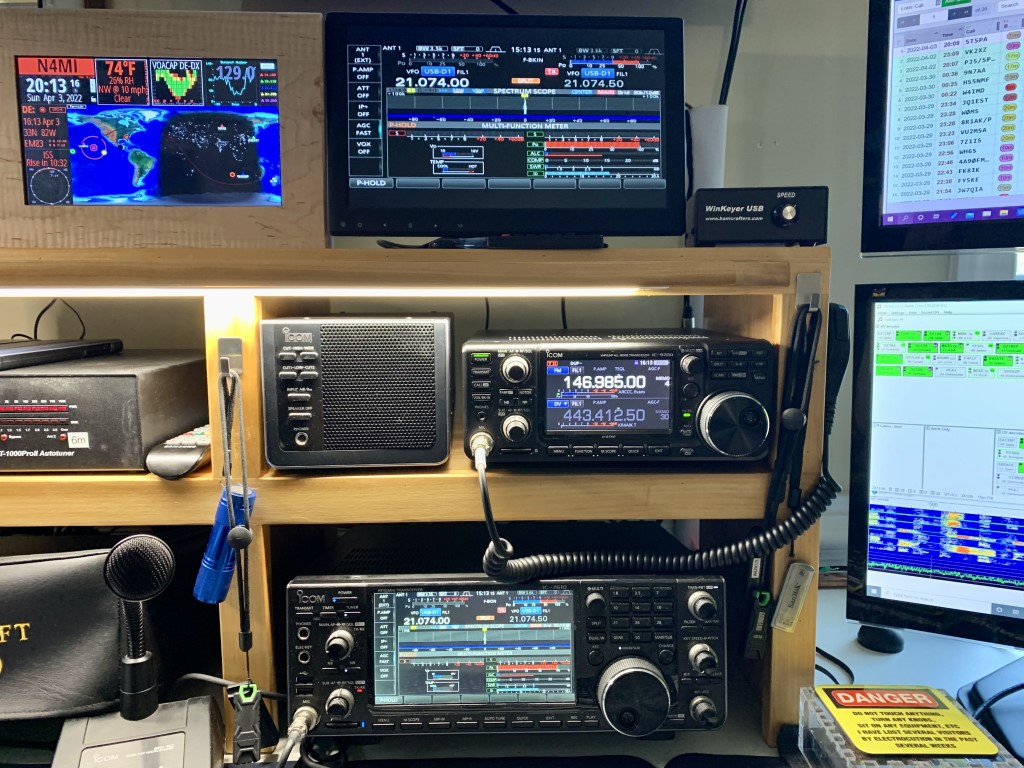
Initial setup was fairly easy, since I already had the power cable, USB cable, ground wire, and coax routed to the spot on my desk for the IC-9700. Since my current VHF/UHF antenna is a Diamond X500HA for 2M and 70cm, I will not get to use the 23cm right away. I used a Diamond MX-72N duplexer, because the IC-9700 has separate 2M and 70cm connectors.
A very nice addition to the shack!
To make programming the radio a little bit easier, I purchased RTSystems WC-9700 software. I use RTSystems programmers for all of my other radios, and it saves a lot of time and effort. The D-Star Calc feature makes adding D-Star repeaters and reflectors a breeze.
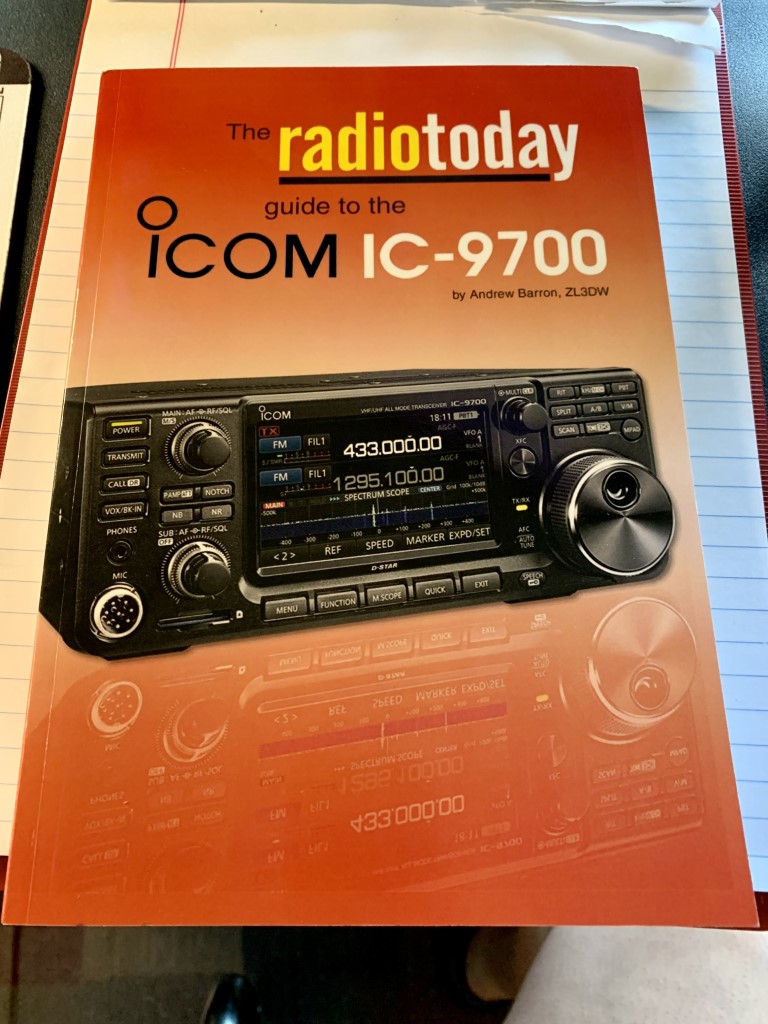
The IC-9700 has lots more features and settings than any of the other VHF/UHF transceivers I used. Even though I am very familiar with the Icom interface and controls, it’s clear that I will have a learning curve to get the best out of this radio. To help with setting up and learning the many features of the radio, I also got a copy of the Radio Today Guide to the IC-9700, by Andrew Barron, ZL3DW. I also have his guides for the IC-7300, IC-7610, and IC-705.
If you buy one of the new Icom transceivers, get this book!
I’m looking forward to seeing what this radio can do. I am going to try out using digital modes on VHF and UHF. My long-term plans include getting a new triband (2M, 70cm, 23cm) antenna to take full advantage of all three bands. I am also considering adding additional antennas to work amateur radio satellites.