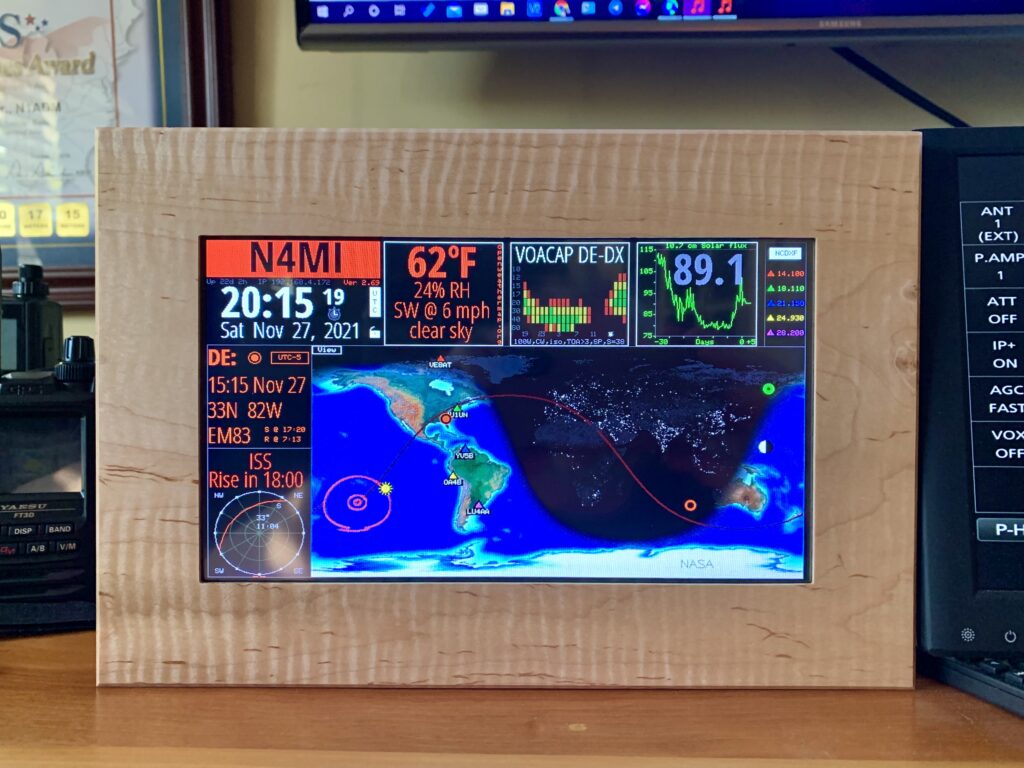
I purchased a Veritium HFClock as an impulse buy when I saw it on sale in an email from Gigaparts. I tried to build a HamClock using a Raspberry Pi and 7″ touchscreen, but I could never quite get it to work correctly. The Veritium HFClock is far more expensive, but it has a 9″ touchscreen in an attractive hardwood frame, and was easy to configure right out of the box. It’s definitely an attractive and informative station accessory. I may try again to build a HFClock with a Raspberry Pi someday.
I have been casually using DMR, D-STAR and YSF (Yaesu System Fusion) modes for a couple of years, using a ZUMSpot. The ZUMSpot is a small board that sits on a Raspberry Pi Zero W. It incorporates a Multimode Digital Voice Modem (MMDVM) and a 10mW UHF transceiver that operates YSF, DMR, YSF2DMR, D-Star, P25 and NXDN modes. The ZUMSpot uses Pi-Star digital voice software. Pi-Star is a custom, pre-configured SD Card image for the Raspbperry Pi, with configuration and operation performed through a web browser. The Amateur Radio Notes website has an excellent tutorial on setting up and configuring Pi-Star. While the Pi-Star configuration appears daunting at first, it is easy to set up by following the tutorial. There are also several videos on YouTube with instructions for configuring Pi-Star.
A few days ago, I was attempting to update the Pi-Star software and the ZumSpot firmware, but kept seeing errors during the firmware update. After several attempts to update the firmware, the ZumSpot wasn’t operating properly*, so I decided to purchase an openSPOT 3, which is made by SharkRF in Estonia.
The openSPOT3 is a battery powered, portable, standalone digital radio internet gateway (aka hotspot). The openSPOT 3 is also configured through a web interface, but the interface and steps for configuration are different than Pi-Star’s. The openSPOT 3 user manual is a web page that is updated frequently when there are firmware updates or features added to the device. Having learned the basics of DMR, D-STAR, and YSF with the ZUMSpot, I found configuration of the OPENSpot 3 to be fairly easy.
* After I had the openSPOT 3 up and running for a few days, I decided to attempt the ZUMSpot firmware upgrade again. It turns out I had missed a step in my earlier attempts, and this time the update was successful. So now I have two MMDVMs!
Both the ZUMSpot and OpenSPOT 3 are excellent MMDVMs. Both are capable of operating the most popular digital voice modes using a DMR, D-STAR or C4FM radio. Also, they both require a wi-fi connection and are configured through a web interface. The openSPOT 3 is great for portable operations since it has a built-in battery and the configuration web page works very well on a mobile phone web browser. Since the ZUMSpot is based on a Raspberry Pi Zero W, it could also be used portable with a USB power bank. The openSPOT 3 costs a bit more more than the ZUMSpot. There are also many other MMDVMs on the market, including inexpensive generic boards and kits available on Amazon and eBay. Digital voice modes with MMDVMs are a great way to talk to hams from all over the world using a VHF/UHF digital radio and an Internet connection.
The Pi-Star configuration panel is used to enter all of the necessary settings for the MMDVM to operate properly.The Pi-Star Dashboard displays a call log and the current status of the MMDVM.The Pi-Star Administration panel displays some additional status information, and options to change some of the settings for the digital mode currently in use.The openSPOT 3 has a “Quick Setup” page to configure the openSPOT3 with the transceiver and connect to the preferred network.The openSPOT 3 status page and call log – you can see information about the openSPOT3’s current status, and listen to call audio on this page.openSPOT 3 in DMR mode with Anytone 878ZUMSpot in D_STAR mode with Kenwood TH-D74openSPOT 3 in YSF mode with Yaesu FT3DBoth the ZUMSpot and openSPOT 3 can be configured to send your station location via an APRS server
About 3 years ago I built a PiAware ADS-B receiver with a Raspberry Pi 3B+ computer and a FlightAware Pro Stick Plus ADS-B USB Receiver with Built-in Filter. For the antenna, I used an inexpensive 1090-MHz indoor antenna mounted in the windowsill. This is a very easy, inexpensive, and fun radio project with a Raspberry Pi, and I would encourage anyone interested in radio and/or aviation to build one. The FlightAware website includes parts lists and detailed instructions for building an ADS-B receiver with a Raspberry Pi computer. You can also build an ADS-B receiver with a Raspberry Pi computer and hardware from AirNav.
Automatic dependent surveillance–broadcast (ADS–B) is a surveillance technology in which an aircraft determines its position via satellite navigation and periodically broadcasts it, enabling it to be tracked.
This setup worked fairly well, and I was able to receive position and heading information for several aircraft within a range of approximately 50 nautical miles, and sometimes a bit farther depending upon the altitude of the aircraft. An indoor antenna is a compromise solution and will generally limit the range from which ADS-B signals can be received.
This morning I replaced the indoor antenna with a FlightAware 1090 MHz ADS-B Antenna mounted outdoors on a 12-foot fiberglass push-up mast. I used 50 feet of LMR-400 coax cable terminated with N male connectors outside, and a short adapter cable with N male and SMA male for the connection to the FlightAware receiver. The antenna is compact and very light, so the installation was very easy.
After installing and attaching the outdoor antenna, there was a dramatic difference in the number of signals received, as well as the distance. The PiAware will now receive signals for almost every aircraft flying inside of 1oo nautical mile radius, and is receiving some as far away as 200 miles!